

Hey Y'all!!
Today I am playing with water! Well more specifically, I am turning my Stampin' Up! ink pads into water color paint.
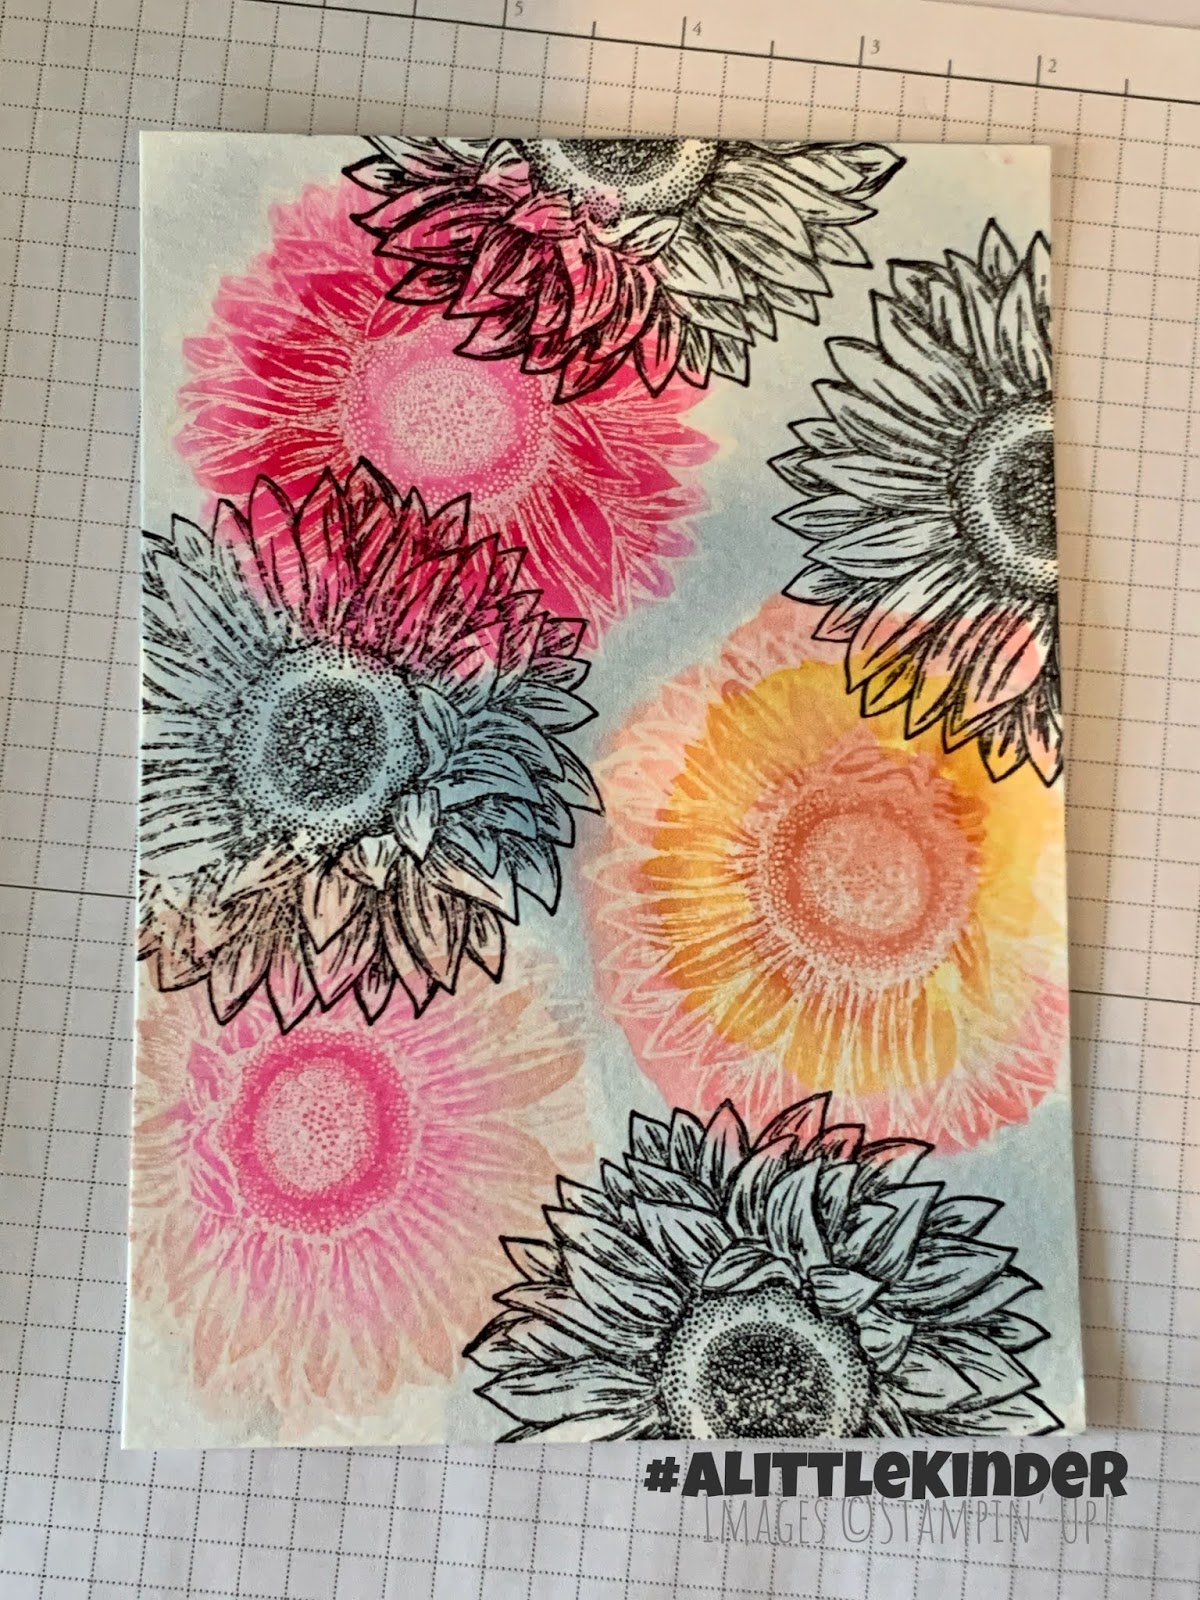
I use the Fluid 100 water color paper from Stampin' Up! on this project. I really like this paper. I have several brands of watercolor paper that I like, this is one of my favorites. To start I took the largest sunflower image from the Celebrate Sunflowers stamp set and embossed it with clear embossing powder. While I could have used white, I felt that the clear would be less harsh when the project was finished.
Once embossed, I added a few drops of reinker to a large clear mount block (the F block and it measures 4 7/8"x 6"0. Then I used a spritz bottle to "wet" my paper. Water coloring is meant to be wet so don't be afraid to get the paper wet before you start. If you are worried about the paper curling, you can use painters tape to hold it down. I used a water painter brush and added color to the wet paper. I allowed the ink to move and pool in the stamped images. After I had colored the flowers I added a wash of Seaside Spray to the background. The final step was to stamp the sunflowers again with Staz On ink. I picked this ink because I wanted the black images to stay on the embossed images giving them the feel of being in front of the other flowers.


Stampin' Up! is adding a free bundle to each starter kit this month! What does that mean? Well the already great starter kit of $125 worth of products that YOU pick for $99 plus tax gets an extra product bundle added that YOU pick! I would love to have you join my team of happy shoppers and demonstrators this month. To join my Stampin’ Up!® Team - https://KarenDay.stampinup.net click on the Join button at the top.

If you are in the United States and not currently working with a Stampin' Up! Demonstrator, you can order supplies in my online store, here.

0
Today I am playing with water! Well more specifically, I am turning my Stampin' Up! ink pads into water color paint.
I use the Fluid 100 water color paper from Stampin' Up! on this project. I really like this paper. I have several brands of watercolor paper that I like, this is one of my favorites. To start I took the largest sunflower image from the Celebrate Sunflowers stamp set and embossed it with clear embossing powder. While I could have used white, I felt that the clear would be less harsh when the project was finished.
Once embossed, I added a few drops of reinker to a large clear mount block (the F block and it measures 4 7/8"x 6"0. Then I used a spritz bottle to "wet" my paper. Water coloring is meant to be wet so don't be afraid to get the paper wet before you start. If you are worried about the paper curling, you can use painters tape to hold it down. I used a water painter brush and added color to the wet paper. I allowed the ink to move and pool in the stamped images. After I had colored the flowers I added a wash of Seaside Spray to the background. The final step was to stamp the sunflowers again with Staz On ink. I picked this ink because I wanted the black images to stay on the embossed images giving them the feel of being in front of the other flowers.
To create the card, I cut the panel in half to create two card fronts. I mounted those on Basic Black Cardstock.

The best part of creating a unique background like this is that no two cards will look the same. While I placed the watercolor panel onto the card base in the exact same position, the actual stamped images dictated the orientation of the card. Here are the finished cards.


Products Used:
One last thing, This month- the month of June- Stampin'Up! has two great promos going on. The first is for someone who hosts. When your workshop reaches $250 you will be adding an additional $25 in host rewards! As if that wasn't great, the second promo is even better!
You can now follow my blog by email! Yep... brand new posts in your inbox!
Are you in the United States? I would LOVE to be your Stampin'Up! Demonstrator!
If you are in the United States and not currently working with a Stampin' Up! Demonstrator, you can order supplies in my online store, here.


