PMP sketch 3 ways!

Tuesday, February 25, 2020
Each demonstrator becomes part of a team or group. I'm part of the Paper Made Pretty team. This group is actually 2 leaders above me and I love getting together with women from my direct team and those who would be my "side sisters". This sketch came from the pretties team and I love it! I love it so much that I made 3 different cards with it. 

The first card uses the Harvest Hellos Stamp set. This would be great to go with a teacher gift. 


This second card uses the adorable We'll Walrus Be Friends stamp set. Y'all I can not get enough of this set!!!
This last card I made for my hubs for Valentine's. I love how the sketch can be used with any shape. The hearts in this last card stacked so nicely. I used dimentionals to lift the bottom heart.

Sketch for today's card

I would love to see what you do with this great sketch by Jana Eubank. If you post it online tag me #alittlekinderstamps.

I would LOVE to be your Stampin'Up! Demonstrator!


If you are in the United States and not currently working with a Stampin' Up! Demonstrator, you can order supplies in my online store, here.


0

Happy Birthday to you Sale a bration

Sunday, February 23, 2020
Happy Sunday! Did you know that Sale-a-bration is almost half over??? On March 3 the second set of Sale-a-bration items will be released. I am madly creating with them so I can share (demonstrators get to order early- it's a perk). I'm telling you that there is a stamp set in round 2 that is my all time favorite!!!

Today's card is using one of the current gift with purchase sets in the first Sale-a-bration catalog. It also features one of the Designer Series papers.

As usual I tell it like it is. This Birthday set really didn't jump out at me when I first saw it. I was kind of meh about it. I liked it. I saw the potential and I saw a LOT of fussy cutting. Then Stampin' Up! released the Product Coordinations and y'all this one jumped up to my gotta get it list! The dies make cutting this cake so worth it! The best part is that those flowers can be cut out on their own or as part of the cake. 


The dies are a great addition. I love that there is a cake stand by it's self and look at those sprig and leaf dies! The two dies on the left cut the flowers and cake and just the flowers (top). 

This is the stamp set. It's free with a $50 purchase. In my card I used the cake image and die cut it with the cake and flower die. In the background I stamped the "confetti" Rococo Rose on Rococo Rose Cardstock. The happy birthday sentiment is from the new Label Me Bold stamp set. It is a must have set. The honey comb looking paper is part of the Golden Honey DSP (designer series paper) from the Sale-a-bration catalog. Some dimentionals and rhinestones and this card is ready to celebrate!

Details for today's card


  • Card Base- Crumb Cake with a side fold.
  • Merry Merlot cut to 4x5.25"
  • The honeycomb paper from Golden Honey DSP cut to 3 7/8x 5 1/8"- sponged with Rococo Rose and Merry Merlot ink.
  • Rococo Rose cut to 2.75" wide and die cut with the scalloped end.
  • scraps of Whisper White for the cake and sentiments. 
  • Blends to color cake

Products Used:


Did you know????

You can now subscribe to my blog by email.... click the picture below or use the Follow Me link on the side bar and NEVER miss a post again!


I would LOVE to be your Stampin'Up! Demonstrator!


If you are in the United States and not currently working with a Stampin' Up! Demonstrator, you can order supplies in my online store, here.


0

Valentine's Day decor

Thursday, February 13, 2020
Gotta be honest with you, Valentine's Day isn't one of my favorites. It's one of those "hallmark" created holidays that seems to loose it's authentic quality. It just seems so commercial and money driven. Now that it's off my chest, I love creating around a theme and love is a great theme! Today I am sharing a little decor project I made to hang in a door way in our home. We live in a very old (think build in the 1920's) craftsmen's style home. Most of the homes on our street still favor the shotgun style home but our lot isn't as deep so a shotgun style home wouldn't fit. Because of the style we have this "mini" hallway between the back bedroom and the rest of the house. This is my "banner" hanging location. Here is the finished project.... there is a video over on my insta account for you.

Because it took a minute to make, I was able to tease all the steps on IG. I gotta say that was super fun to do. Not necessarily something I can do while making a card. Here are some of those steps along the way.

Details for today's project

First I decided on a color scheme. I knew I didn't want the traditional pink and red. Since AC granulated and went to college, it's just me and the boys. I wanted something that wasn't quite so girly but still celebrated love.

I decided on  Soft Sea Foam, Purple Posy, and So Saffron as the color palette. Soft, would work for Valentines but didn't scream it. I decided to mix the January Paper Pumpkin set in with the Heartfelt stamp set and punches. Y'all know I give my opinions freely and often. *shoulder shrug inserted here* This is probably my most favorite set from Paper Pumpkin EVER! Yep I said it. I loved last January's set that coordinated with the Animal Outing stamp set and the May set that coordinated with Bird Ballad. But this one is even better!!!


The 2x2" floral inspired background stamp can easily be stamped side my side to make a huge sheet of backgrounds. The little bee stamp coordinates with the bee set from the January- June Mini Catalog. The heart from this set fits perfectly in the punches from the Heartfelt stamp set. Oh y'all have I convinced you yet on how awesome this set was????

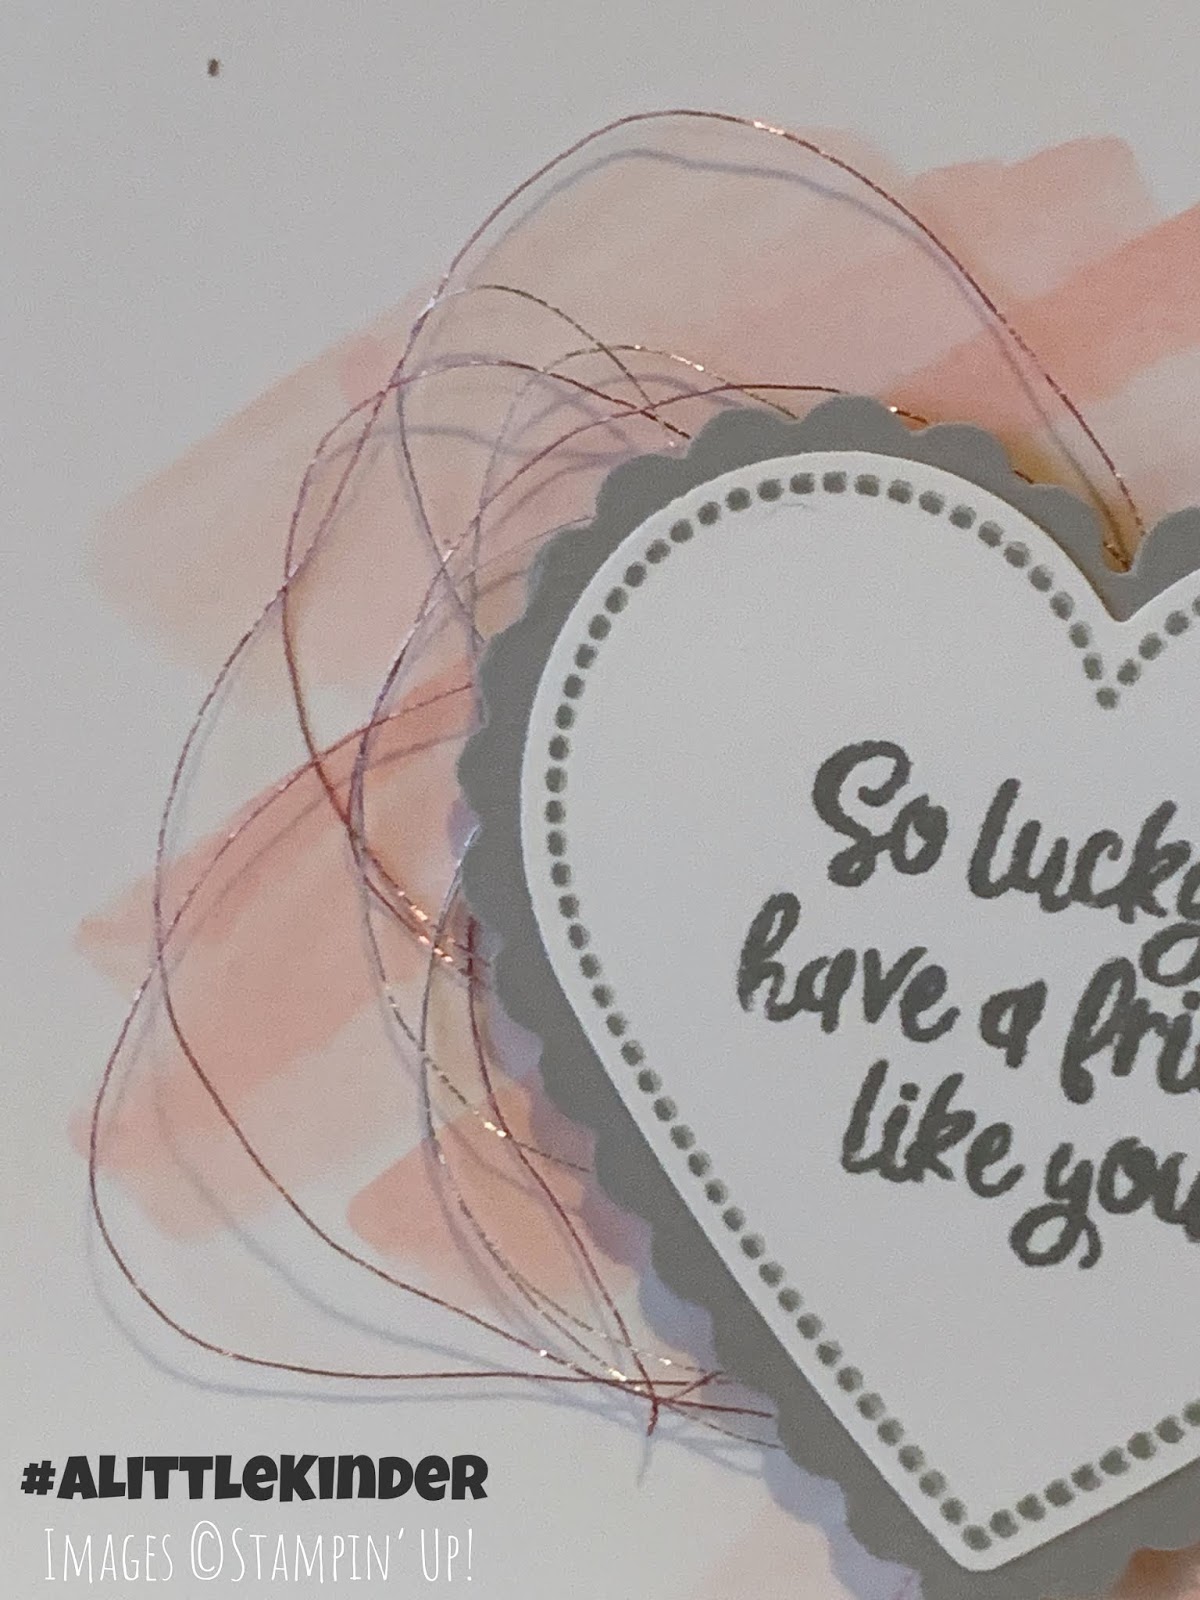
Here you see the hearts after they had been stamped and punched. The front scalloped heart is stamped with one of the hearts from the Heartfelt stamp set and the solid Soft Sea Foam heart uses one of the stamps from January Paper Pumpkin kit. That beautiful floral is from the Best Dressed Suit. Oh there is ANOTHER coordinating suite to this kit!! Y'all!!

So the hardest part of this project was scoring down the middle of the heart. I used my paper trimmer to do the scoring. Once scored and folded, I glued 4 hearts together. I left one of the sides open to add it to my Whisper White bakers twine. The last step was to take my five "strands" and hang them from some ribbon so that it would hang more like a banner.

I am so excited about this project that I know I will be finding other themes to create hanging banners for! On a side note or as a funny.... when my husband saw it hanging in the doorway he asked if I was trying to bring back the 1970's beaded doorways! Oh what I am I going to do with that man!

All the products used can be ordered 24/7 in my online store. The Paper Pumpkin kit is currently sold out, but I hear the March kit is going to have a double stamp set as a celebration of the 7th year of Paper Pumpkin.


See those rain boots???? I have my fingers crossed that it is going to work with the new _____ set from the January June Mini Catalog.Click the image to order the kit- I'm betting you won't want to miss it!

Products Used:


I would LOVE to be your Stampin'Up! Demonstrator!


If you are in the United States and not currently working with a Stampin' Up! Demonstrator, you can order supplies in my online store, here.


0

Galintine's card- Lucky to have a friend like you!

Wednesday, February 12, 2020
Today I'm sharing a card to give to your bestie at Valentine's Day. I love the simplicity of this card. The background is a watercolor wash of Flirty Flamingo. Then I used Smoky Slate to stamp my greeting and the dotted heart on to Whisper White. The scallop heart is punched from Smoky Slate. I used the Rose Metallic Thread to add some sparkle.

Details for today's card

Here is a close up of the heart and metallic thread. I LOVE the metallic thread against the wash of Flirty Flamingo.

Products Used:


I would LOVE to be your Stampin'Up! Demonstrator!


If you are in the United States and not currently working with a Stampin' Up! Demonstrator, you can order supplies in my online store, here.


0

ALK color challenge 2 inspiration- Cute as a Bug!

Tuesday, February 11, 2020
I'm sharing todays card but I'm not a big fan. Yep, sometimes whatI end up with is nothing like what I envisioned. Today's card is that for me. The funny part is that the hubs loves this card! Like it's his favorite of the day. Now there are parts of this card that I do like. I love the little hearts in the open window of the scalloped heart. I love the top section with the little hearts and the black and white paper. But I'm not feeling it all together. I guess what I am trying to say is that what you don't love, I might go crazy over! Never be afraid to share.


This card also uses the color challenge #2 color scheme. I like the addition of the black and white paper with the pinks and reds. It helps balance the with in the sentiment and in the background.

Products Used:


I would LOVE to be your Stampin'Up! Demonstrator!


If you are in the United States and not currently working with a Stampin' Up! Demonstrator, you can order supplies in my online store, here.


0

Little Ladybug Thinking of you card- Something old and something new

Friday, February 7, 2020
Today's card uses the Sale-a-bration Hostess set, Little Ladybug.  I mixed a little old with a little new to create this card. I loved the old wood Designer Series Paper (DSP). I knew I wanted to pair that with the script paper from the current catalog. I used January's Color challenge colors to make this card, with the addition of the white washed wood DSP. 

It's hard to see in this full picture but I also used the Rose Metallic Thread. Here is a close up where you can see it. I decided to use Flirty Flamingo and Crumb Cake Blends to color the ladybug. I didn't get the dies that are part of the Product Coordination so I fussy cut the ladybug. Then I layered her onto one of the scalloped hearts. 

Details for today's card


  • Thick Whisper White Card base with a side fold.
  • Smoky Slate cut to 4 x 5.25"
  • Script Basic Gray DSP cut to 3 7/8x 5 1/8"
  • Wood DSP cut to 3.75 x5" with the bottom edge torn.
  • Dotted Flirty Flamingo DSP is 1.75" and the solid DSP is 1".


Products Used:


I would LOVE to be your Stampin'Up! Demonstrator!


If you are in the United States and not currently working with a Stampin' Up! Demonstrator, you can order supplies in my online store, here.


0

Birthday wish background blending

Tuesday, February 4, 2020


Today's card is a fun background technique card. All you need are 3 to 4 colors of ink and a sponge roller. I started with the lightest color of ink (Seaside Spray) and rolled it about 1/4 of the way into the center of the card. I then rolled Balmy Blue next to it. I continued to from left to right adding some Blueberry Bliss and finally a little Pacific Point Blue. I then stamped the Birch background stamp in Smoky Slate over my background. I used an Aqua painter to "flick" water on to the background. What is great here is that our inks react with the water and make marks similar to Oxide inks. The best part here is that you don't need a special set of inks just to get that effect.

In this close up you can see how the water reacts with the ink.

Details for today's card

  • Card Base- top fold Seaside Spray 8.5x 5.5 " scored at 4.25"
  • Smokey Slate cut at 4x5.25"
  • Whisper White cut at 3-7/8” x 5-1/8”
  • Whisper White scrap 
  • Seaside Spray scrap to die cut "wish" add Wink of Stella for shimmer

Products Used:


I would LOVE to be your Stampin'Up! Demonstrator!


If you are in the United States and not currently working with a Stampin' Up! Demonstrator, you can order supplies in my online store, here.


0

A Little Kinder Color Challenge #2

Saturday, February 1, 2020
Are you ready for the next challenge? This is February's color challenge, with a nod to Valentine's Day. Rocco Rose, Merry Merlo, and Crumb Cake are a beautiful combination. I love the country chic feel of this color combination! 

Here is my inspiration for this color challenge. I LOVE this little meerkat! He just looks like he wants to give you a hug. I used the heart die from the 

Details for today's card


  • Card base is Crumb Cake 5.5x8.5" scored and folded at 4.25"
  • 4x5.25" piece of Crumb Cake embossed with the Pinewood Planks embossing folder
  • 3x4.25" Rocco Rose cardstock
  • 2.5x4.25" Golden Honey DSP
  • 2x4.25" Merry Merlot cardstock
  • Whisper White cut with the Stitched So Sweetly Dies- sponge Crumb Cake on the larger die, stamp Meerket on the smaller die cut
  • Use a scrap of Whisper White to stamp "Happy Birthday" from Label Me Bold stamp set

Products Used:


I would LOVE to be your Stampin'Up! Demonstrator!


If you are in the United States and not currently working with a Stampin' Up! Demonstrator, you can order supplies in my online store, here.


0
Powered by Blogger.
BloglovinEmailPinterestTPT